Pumpkins: 12 Terrific No-Carve Tips
If you decorate for Halloween, you’re part of a growing trend. Today, nearly half of all households in America decorate for the holiday, the season or both, and many displays feature pumpkins as the focal point. Whether you want jack o’ lanterns without the mess of slimy seeds and goop, or simply prefer something knife-free and kid-friendly, try our 12 terrific no-carve tips.
First, clean and dry your pumpkin(s) of choice. Then:
- Let it glow. Apply glow-in-the-dark paint over a base coat of white primer, which will help maximize the glow. You can keep it simple and stop there, or use matte black paint to create a jack-o’-lantern face or decorative design. Charge the paint, turn out the lights and admire your handiwork.
- Go for glitter. Coat an area with glue, sprinkle with glitter and continue until the surface is coated. For a similar effect without the mess, use glitter coat paint. A single coat creates a light glitter dusting, multiple ones heighten the impact.
- Make it metal. Paint the pumpkin one shade of metallic paint and the stem another. Pair stainless steel with antique bronze, chrome with bright gold, gunmetal with shiny silver, or deep burnt copper with metallic black.
- Select a stencil. Choose Halloween symbols or simple geometric shapes, letters, numbers or graphic designs. Tape the stencils to the surface and brush over them with paint.
- Dab on dimension. Use plain or glow-in-the-dark puffy paint to create dimensionalized designs.
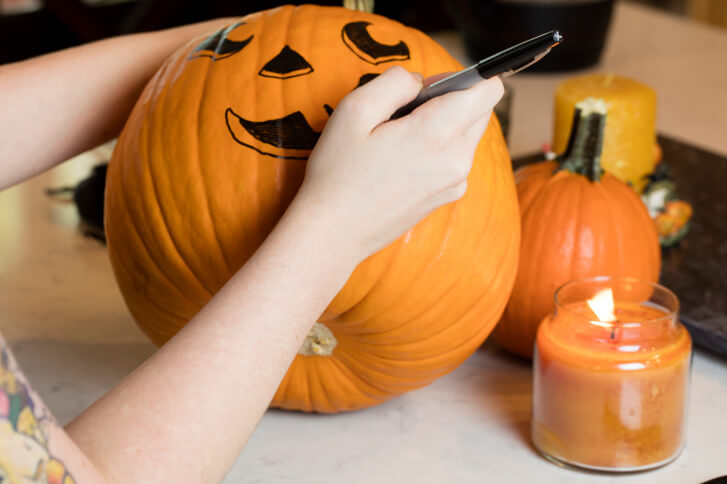
- Make marker magic. Sketch your design with dry erase markers, so you can wipe away mistakes. Once you’re satisfied with the design, use permanent markers to color it in.
- Rely on ribbon. Use glue to apply flexible fabric ribbon or opt for self-stick ribbon tape. Apply it in vertical strips, around the circumference or in a continuous spiral from the stem to the base.
- Depend on duct tape. Paint the stem a solid color, then cover the pumpkin’s surface with plain or patterned duct tape.
- Add texture. Crumple plain, colored or sparkly tissue paper then tear it into small, irregular shapes. Brush an area with glue, press on a piece of paper, apply more glue, overlap another piece of paper, and repeat until the surface is covered.
- Simulate suede. Substitute brown paper bags for tissue paper, and apply in overlapping sections until the pumpkin is covered. The crumpled texture and irregular shapes produce a look that resembles distressed suede.
- Create a chalkboard. Apply several coats of chalkboard paint. Let them dry thoroughly, then use chalk to add designs or write a message.
- Wrap it. Place a small pumpkin in the center of a sheet of burlap, wrapping paper or aluminum foil, gather the material up the sides and secure it at the stem with yarn or ribbon.